
The main points and Keywords to be discussed in this article are testing and commissioning of ac ups system. ups system electricala. Inverter. Static transfer switch overload test. Inverter overload test.
TOOLS AND EQUIPMENT TESTING AND COMMISSIONING OF ELECTRICAL EQUIPMENT
Tools and equipment should be in good condition for use in the construction area. All test equipment required to be calibrated not more than 3 months before the date of test. All equipment calibration “original” certificates should be presented at site.
These includes but not limited to the following:
- Common Hand Tools
- Digital Volt-ohm Meter
- 500/5000V MEGGER
- Current Tester (Multi-Amp or equal)
- Torque Wrench
- Ductor (Micro ohm Meter)
- Protective Relay Test Set
- Thermometer
- Oscilloscope
- Load Bank
- Manufacturer’s Instruction Manuals
- Personal Protective Equipments
- Timing Tester
- Hydrometer
- Relay testing set
- DLRO
PROCEDURES FOR TESTING AND COMMISSIONING OF AC UPS SYSTEM
GENERAL PREPARATORY WORKS
- COMPANY shall appoint qualified employees as their ‘competent persons’. Such persons shall be capable of working safely and shall be knowledgeable on the precautionary techniques, personnel protective equipment, shielding and insulating materials and tools.
- All permanent and consumable materials shall prepare prior to testing.
- Manpower, equipment, tools and other logistics shall be prepared and ready for installation.
- Prepare the workplace such as barricading the area and housekeeping.
- Review the AC/DC control schematic of the disconnect switch assembly. All connection diagram vendor and IFC drawing shall be available in the work area.
- Review all technical specifications, operating manuals and previous inspection data if appropriate.
- Electrically Hazardous Task Plan / Permit shall be completed and signed before any work proceeds.
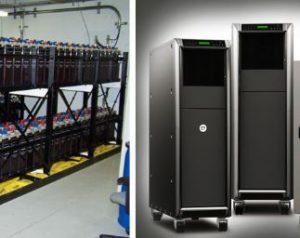
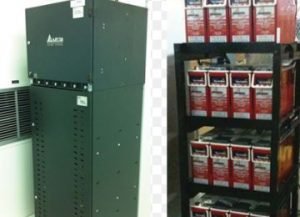
AC UPS SYSTEM ELCTRICAL COMMISSIONING
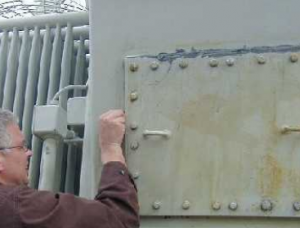
Visual Inspection
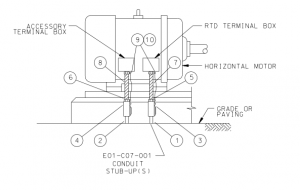
- Compare equipment nameplate information data with actual operating conditions, drawings and specifications.
- Inspect the physical condition of all electrical and mechanical components for deterioration and missing, broken, or loose parts, etc. This includes the inspection of insulators, insulation materials, sign of overheating or electric sparks and door fastener functionality.
- Check for proper wiring and terminal connection are done.
- Check that all grounding is securely connected (including star neutral points).
- Check cleanliness of interior of cubicle, clean using manufactures approved method and material.